You are able to attach photos to a work item from the Buttons tab or the List tab. Attaching a photo from the Buttons tab is useful if you've just submitted a work item from that screen. If you have an older work item that you wish to add a photo to, you can access the List tab and edit the work item to add a photo.
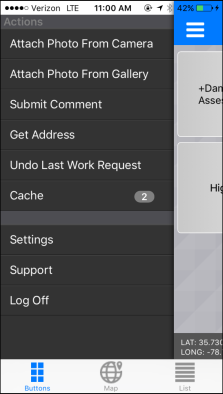
Attaching Photos from the Buttons Tab
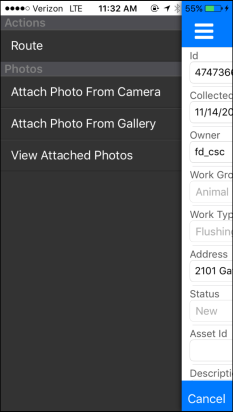
- Tap on the Buttons tab at the bottom of the screen.
- Tap on the menu in the upper left corner.
- To take a live photo, select Attach Photo From Camera. This will open the camera on your device to take a picture. *Note: When attaching a photo from the buttons screen, the photo will attach to the most recently submitted work item from the buttons screen only.
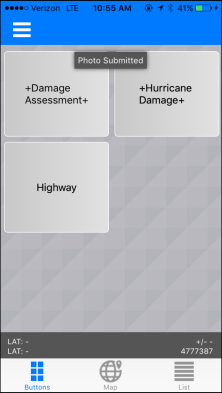
- After you have taken your picture, you will see a message appear at the top of the screen that says "Photo Submitted".
- You also have the option of choosing a photo from your gallery. From the same buttons menu above, select Attach Photo From Gallery. This will open the photo gallery on your device where you are able to select a photo you have already taken and attach it to the work item.

|
|
|
Attaching Photos from the List Tab
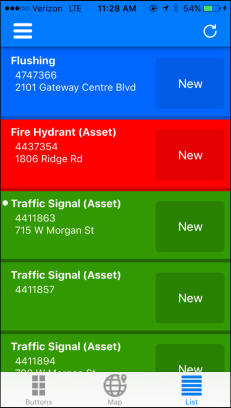
- Tap on the List tab at the bottom of the screen.
- Locate the work item you would like to add a photo to and swipe right to edit.
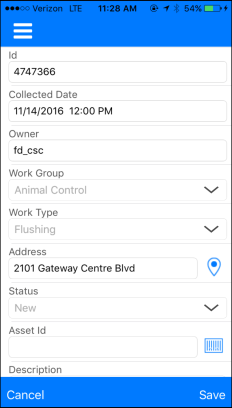
- Tap on the menu in the upper left corner.
-
To take a live photo, select Attach Photo From Camera. This will open the camera on your device to take a picture.
- You also have the option of choosing a photo from your gallery. From the same menu above, select Attach Photo From Gallery. This will open the photo gallery on your device where you are able to select a photo you have already taken and attach it to the work item.
- View Attached Photos allows you to view any photos currently attached to the work item.
|
|
|
